


Get a head start in HitFilm with this overview, which takes you through every step from launching the software to exporting your final footage. After reading this post, you should feel ready to begin working on your own projects.
Top Tip: You can access many educational tutorials within the software itself, including the videos listed in this post if you would like to follow along in HitFilm. These include a project file which you can use along with these tutorials so that you can create amazing videos in no time.
Quick interface tour
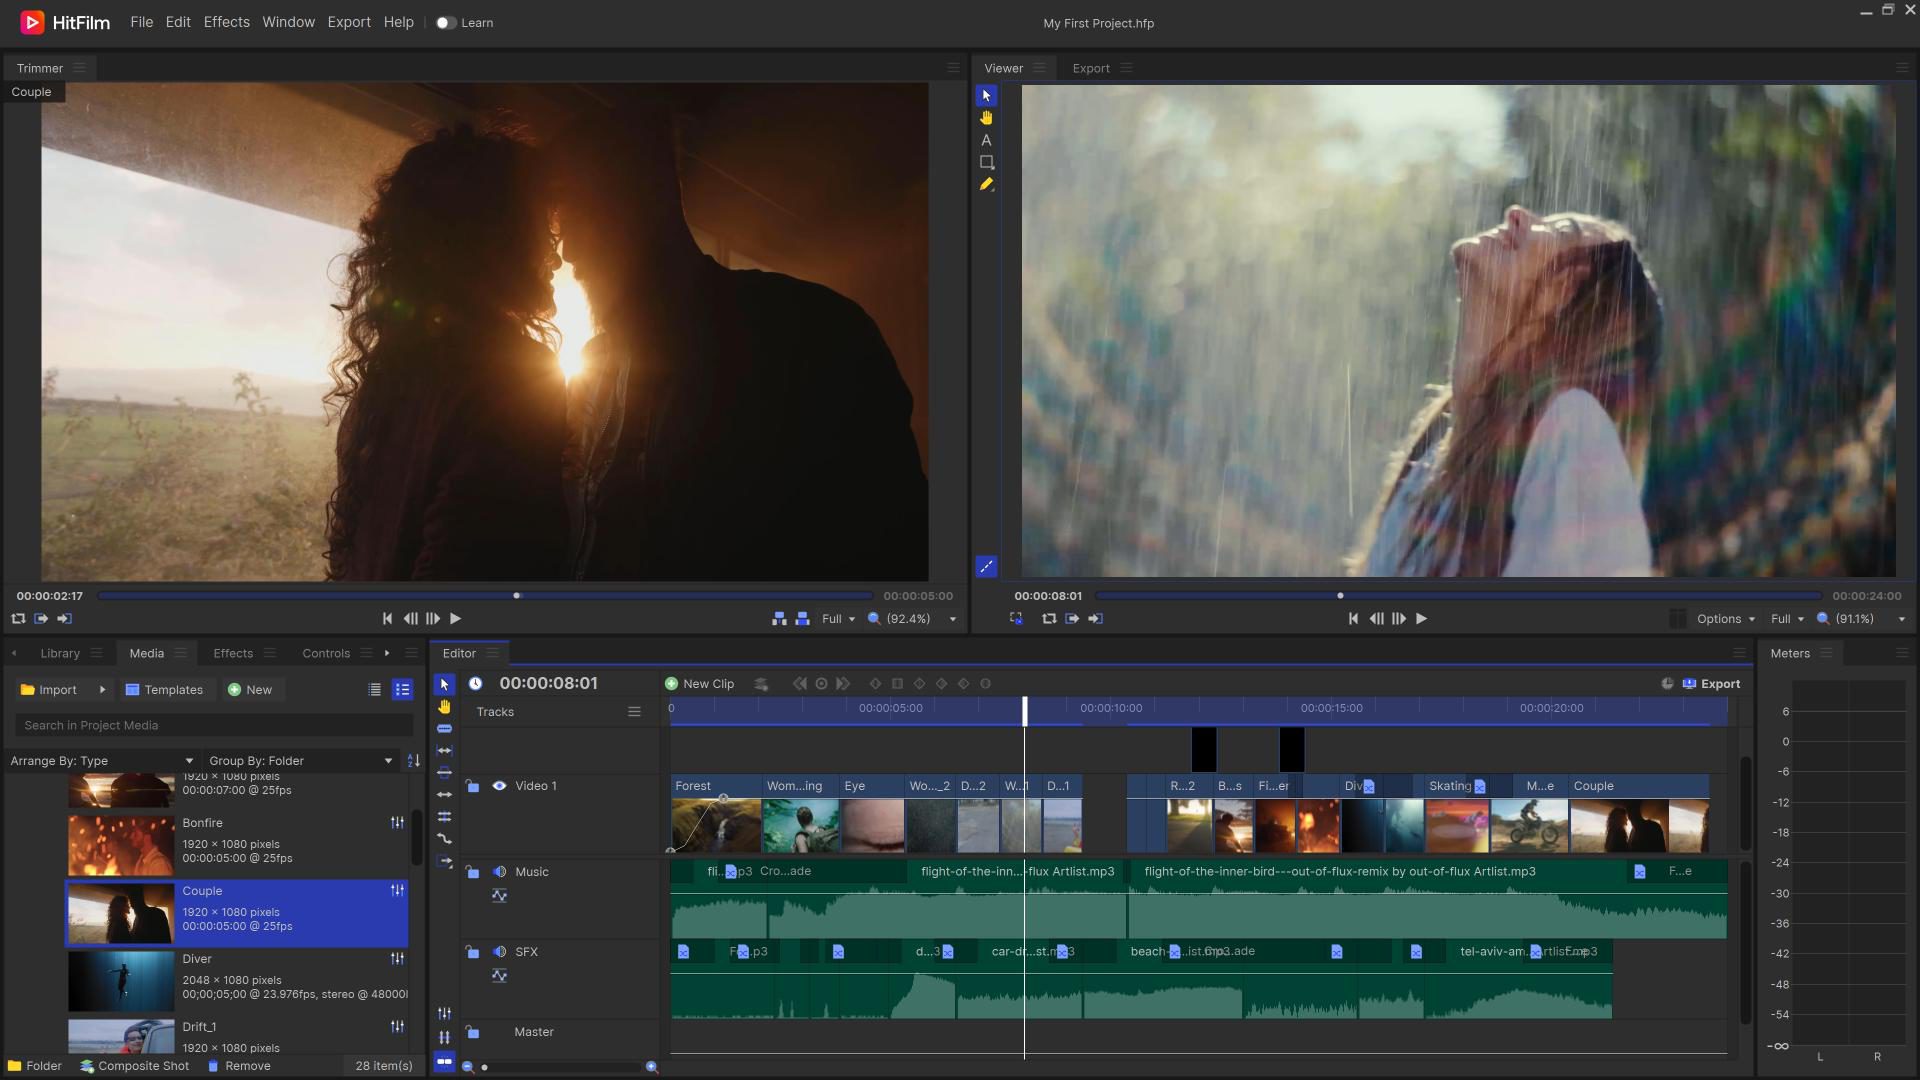

This is the main interface of HitFilm. You can see that an example project is present on the timeline. One of the areas you will use the most is the Media panel, which is where all of the videos, pictures, and audio that you want to use in the project are stored. Skip to the Media panel.
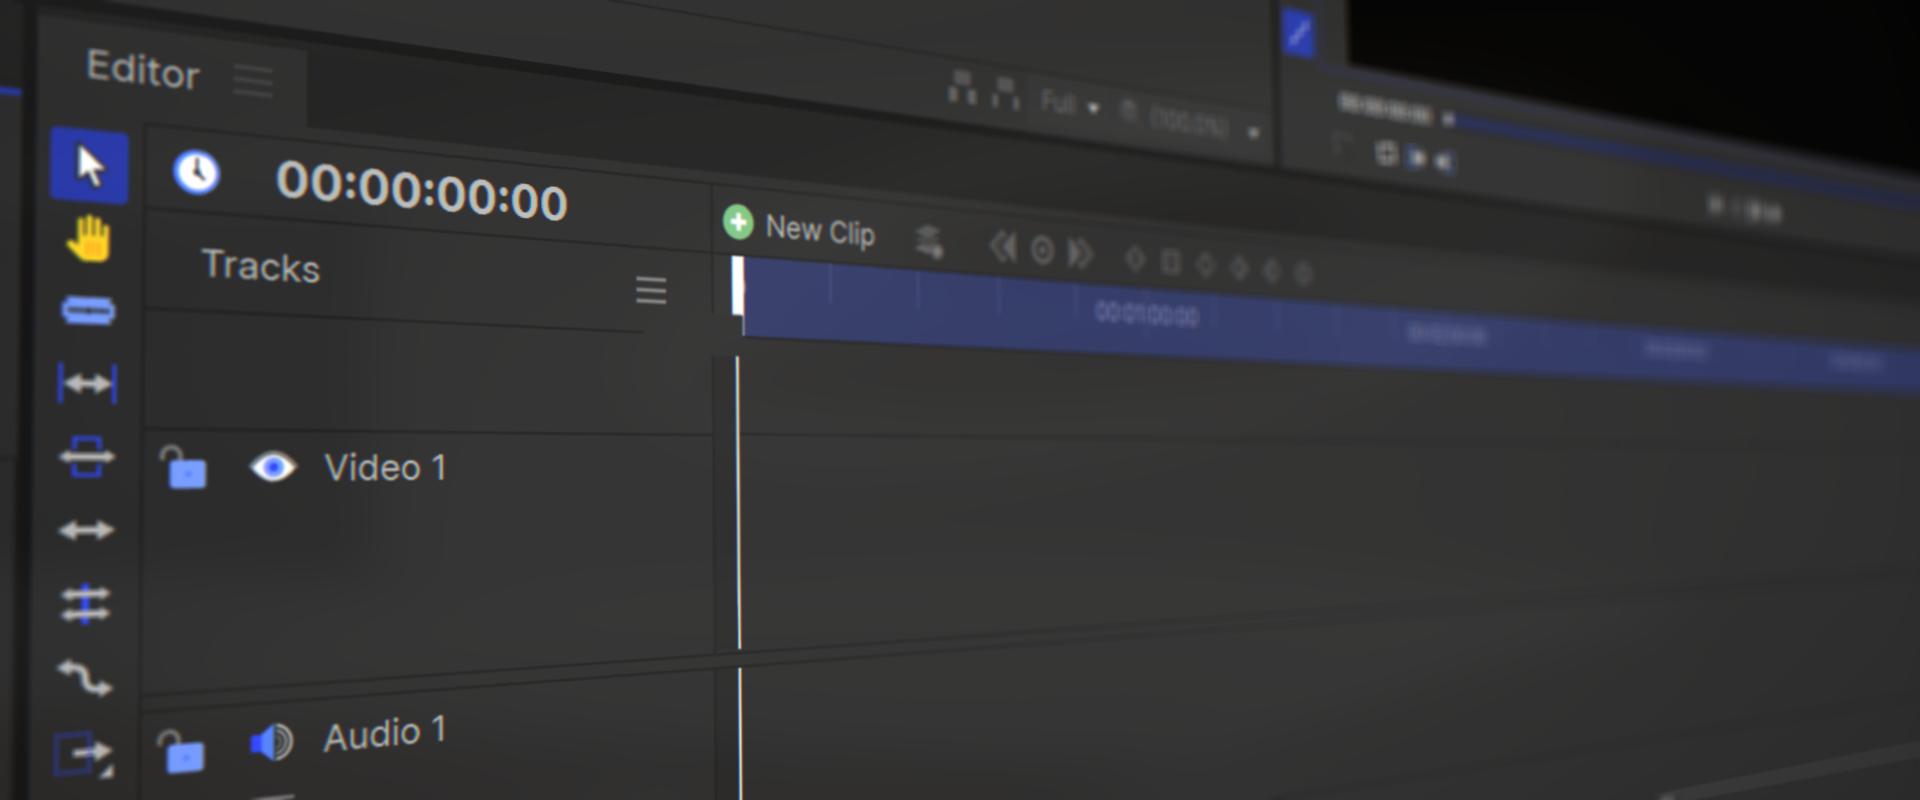
Down below you have the timeline, which is where you place your clips and assemble your final edit. It’s split into Video tracks and Audio tracks. You can add more at any time by right-clicking in the area.

The video and audio clips selected will be reflected in the Viewer panel. This panel represents what you will see in the final product.

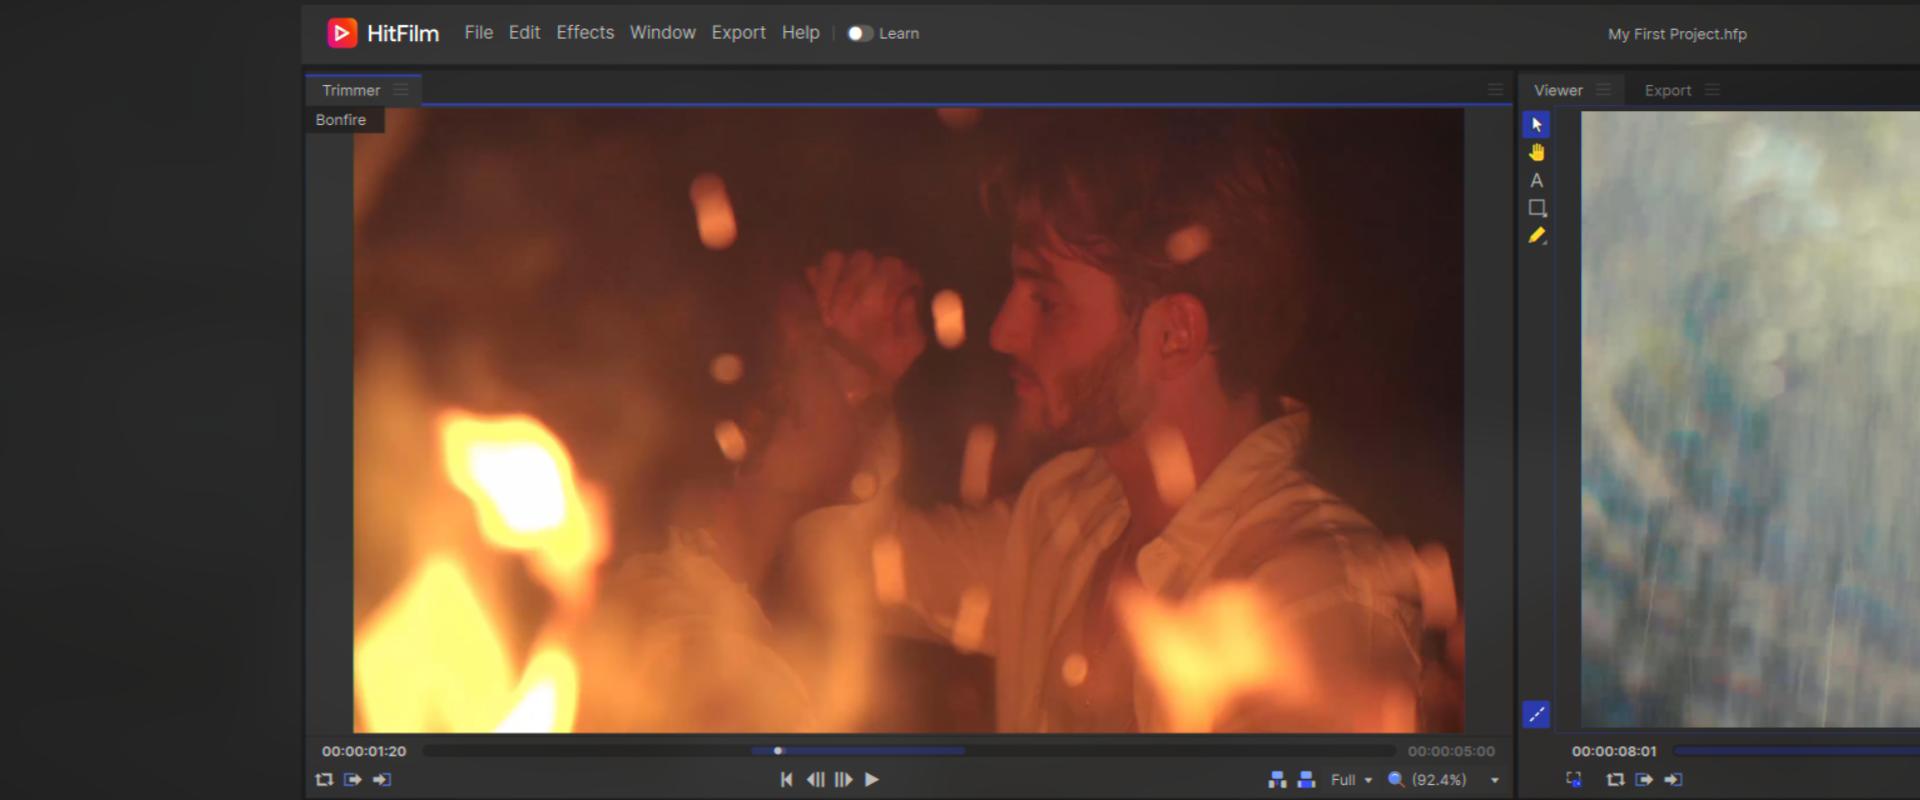
The Trimmer panel allows you to preview clips in the Media panel before adding them to the timeline.
In the same container as the Media panel, you can find the Effects panel, which contains hundreds of effects, filters, and presets for both video and audio, as well as transitions.


Add your media
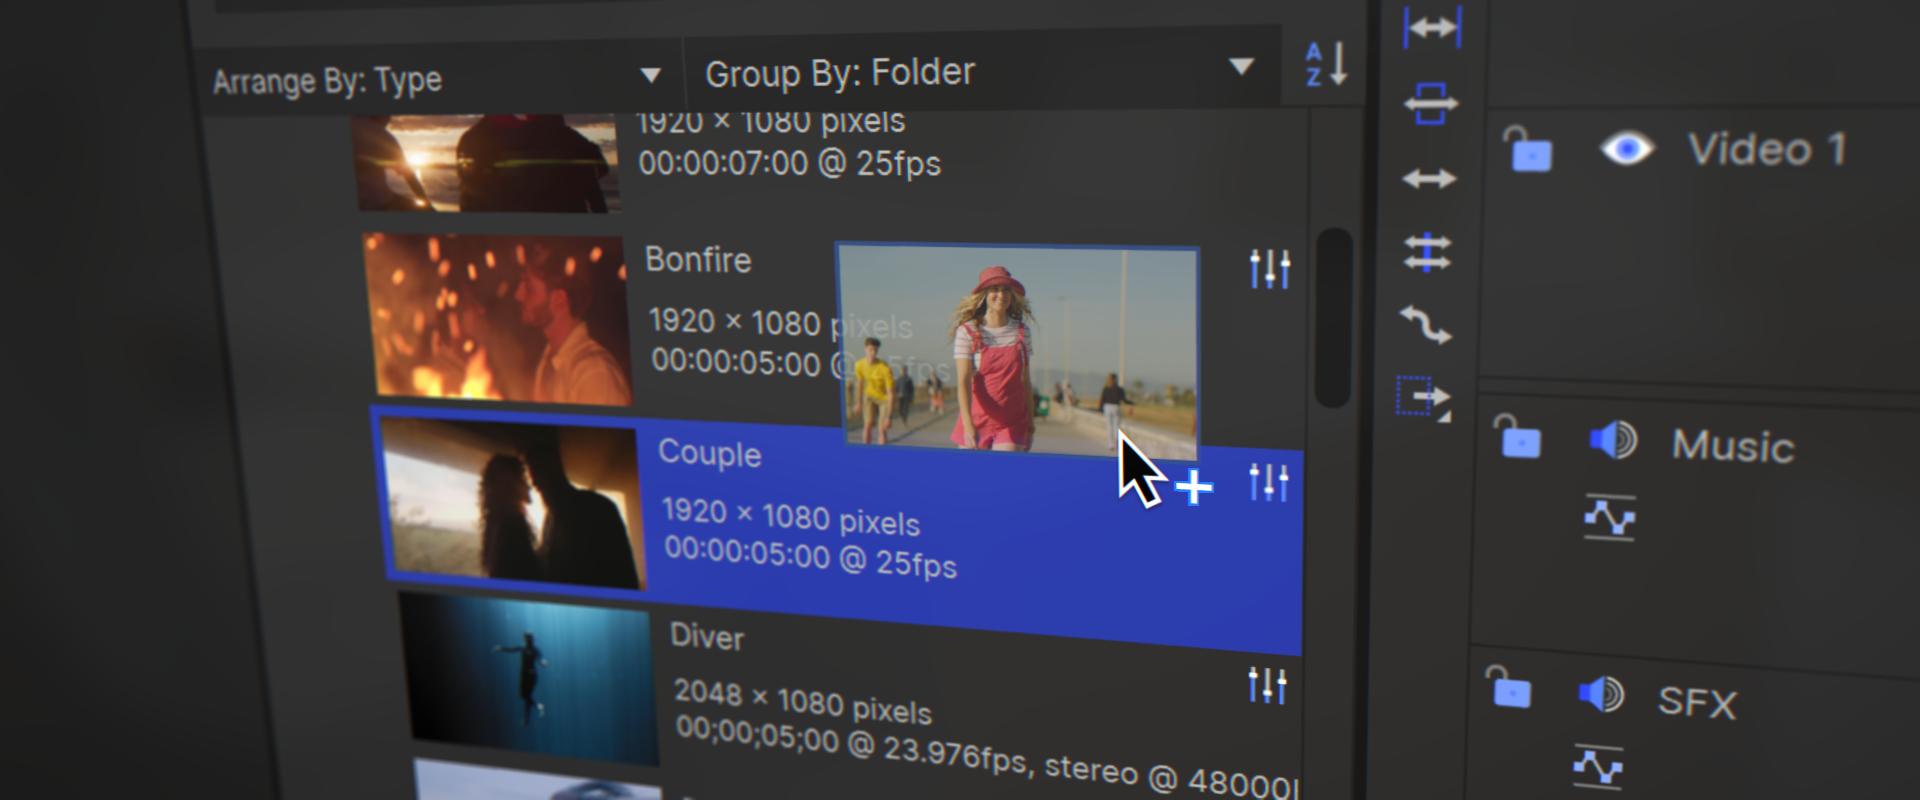

The Media panel is where you place any videos, pictures, music, or other content that you want to use in your project. Click the Import button to browse the Explorer for the files you want to add or drag them directly into this panel.
Add in the media to the timeline as you wish to see it laid out, and you can then begin to adjust it as needed.
In the Media panel, find the video named [ASSET_01]. Click it once so that it appears in the Trimmer. You can scrub through the video by clicking and dragging this handle here. If you were to add this entire clip to the timeline, it would be too long, so it helps to set what’s called In and Out points. These points determine the beginning and end of the clip before you add it to the timeline.
Here’s how to set your points. Place the playhead at [TIMECODE_01] and click the Set In Point icon. Now move the playhead to [TIMECODE_02] and click the Set Out Point icon. Click and drag over the Use Video popup and bring the footage down onto the timeline in the gap. This will add only the video and not the audio.
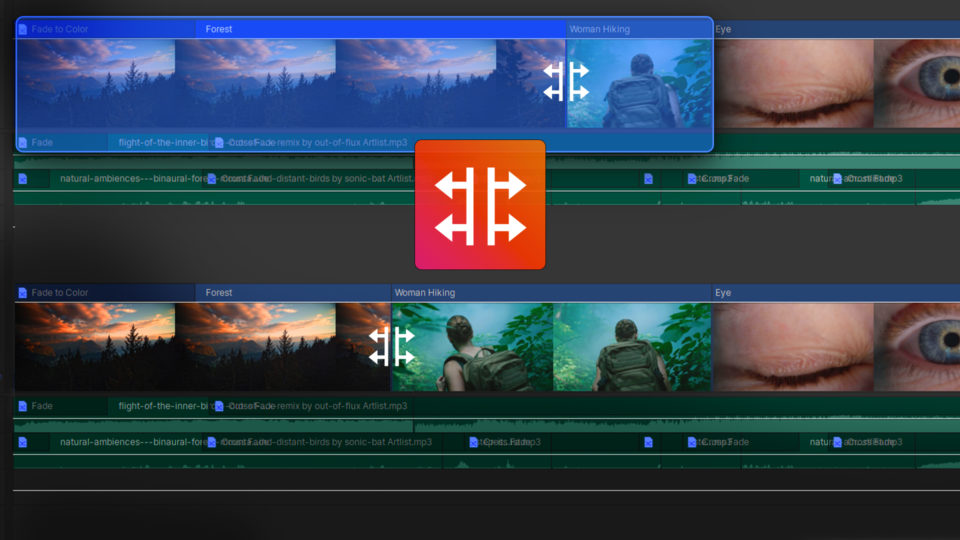
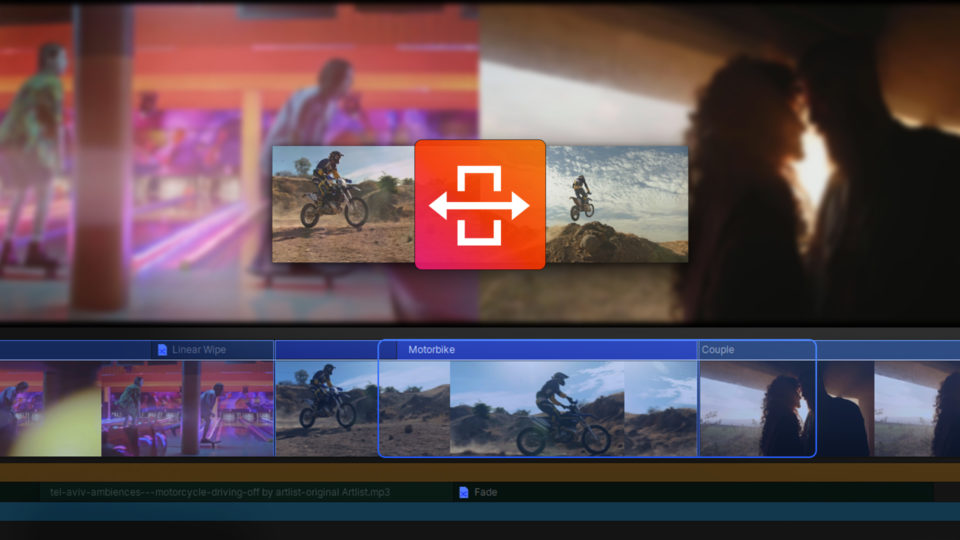
Trim media
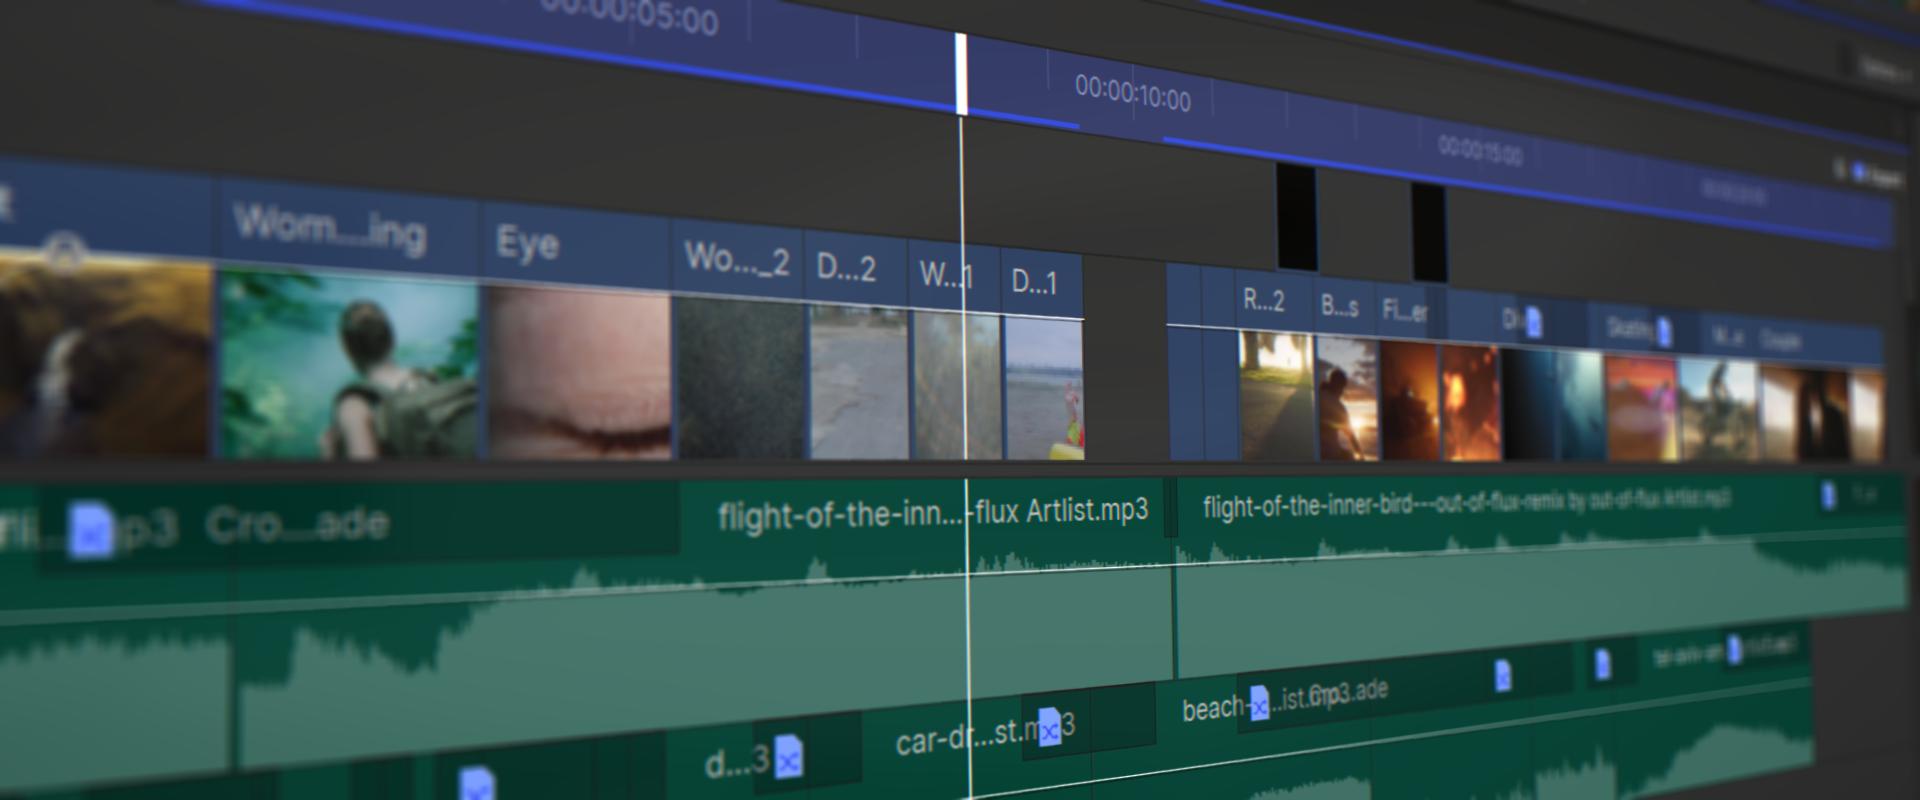

If you find that the video isn’t exactly the right length, you can trim it directly on the timeline. Drag either the left or right edge of the clip to trim it. HitFilm will automatically snap the edge if there’s another clip nearby.
You can turn this feature on or off by clicking the magnet icon. If you’re working with a video file, there’s a limit to how much you can extend. Pictures can be extended indefinitely.
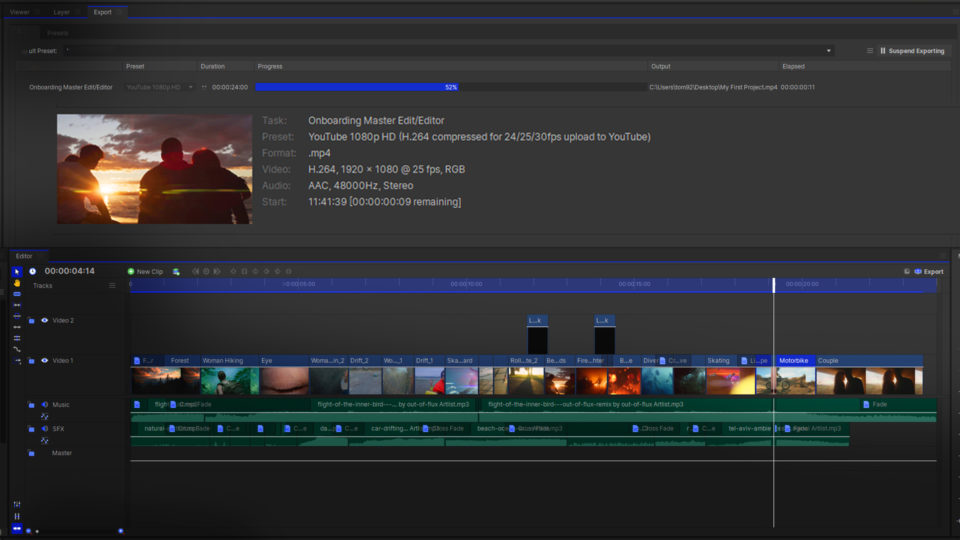
Exporting

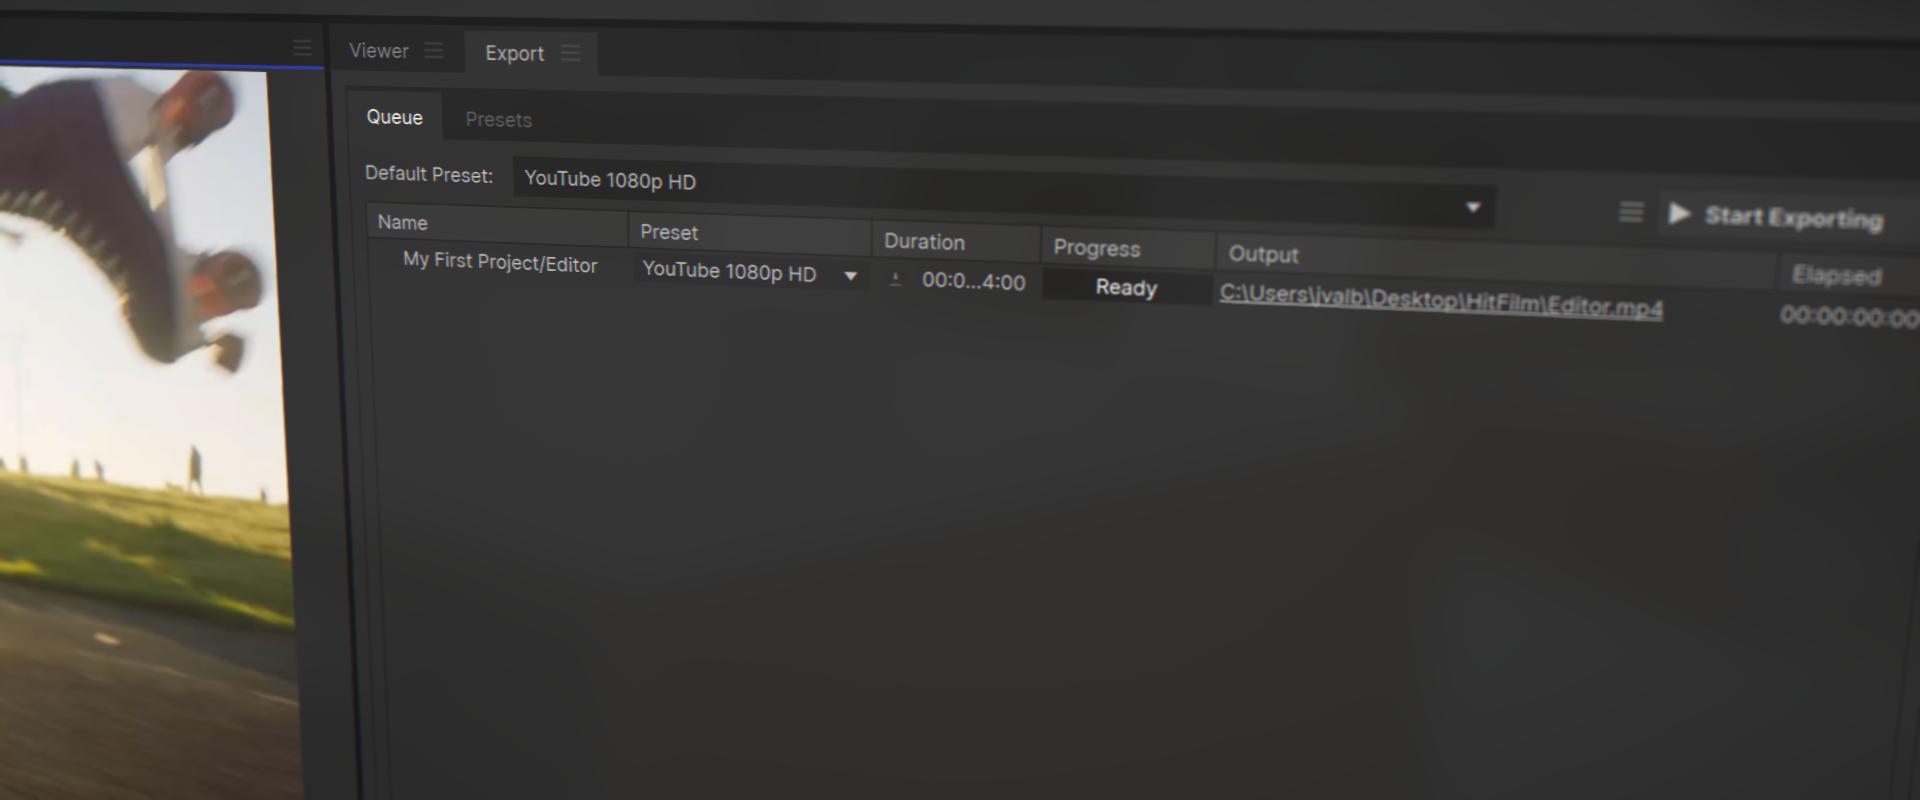
Once you’re happy with the edit, you’re ready to export. This makes the video playable on other computers and you can upload it to websites and social media.
The Export button exists in two places: up in the taskbar, and down on the timeline.

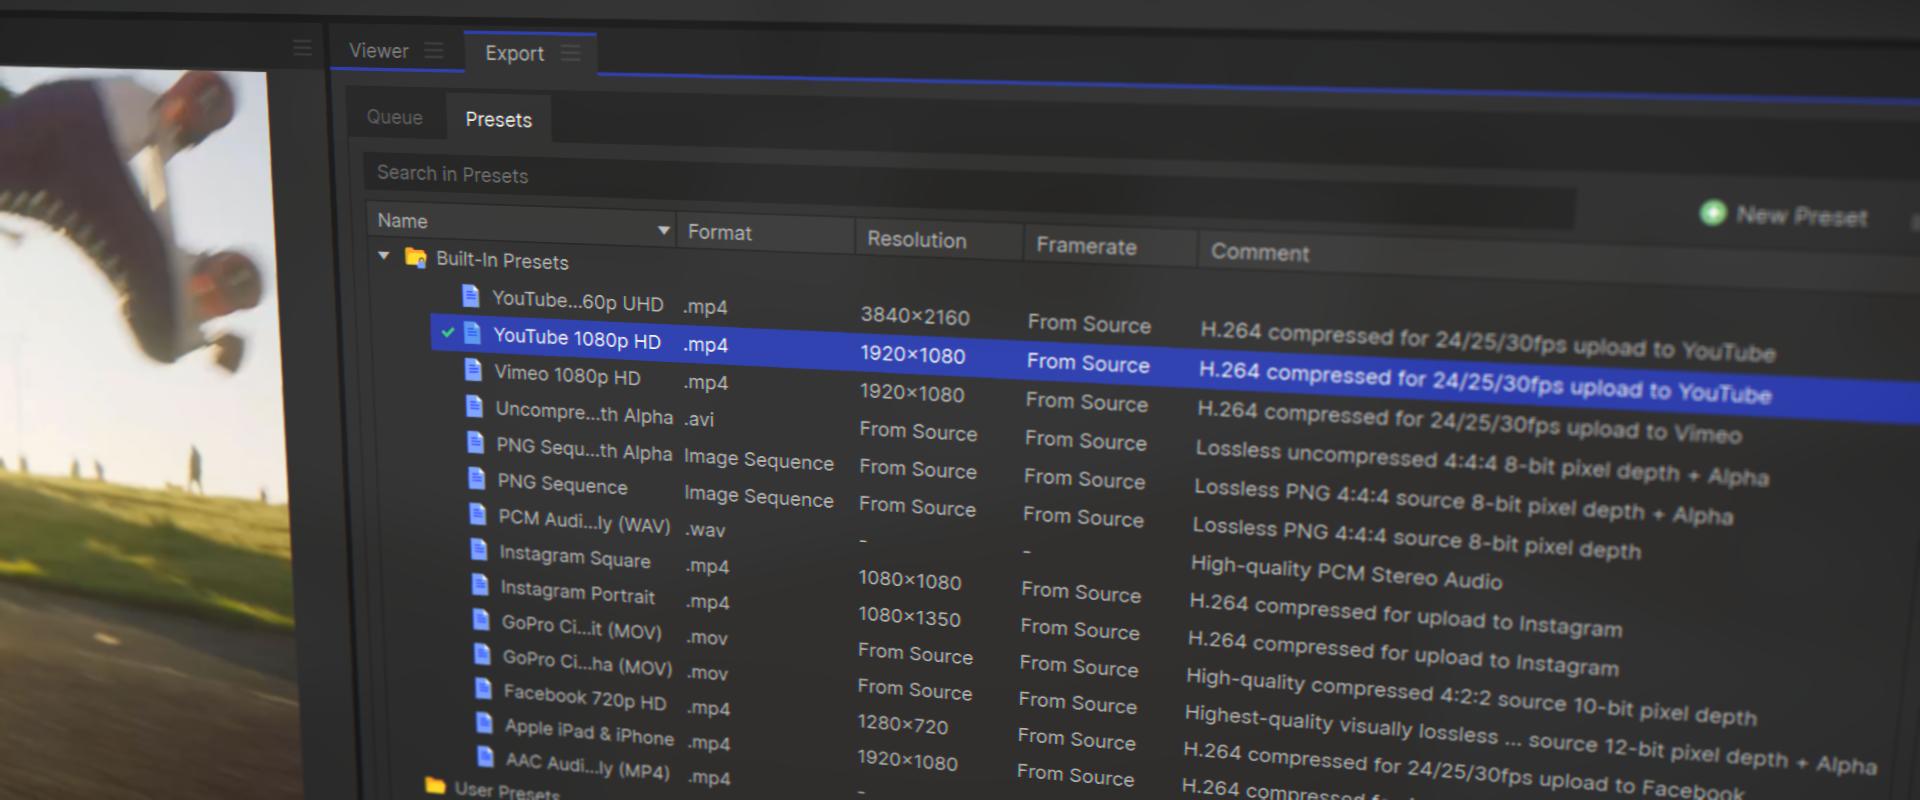
Before exporting, you’ll want to check that the Preset being used is the right one. The Default Preset dropdown allows you to choose which export settings should be used. For example, you could go for this preset designed for YouTube 1080p upload, or a high quality Cineform.
Choose the ‘To File’ option, decide where you want to save the file, and what to name it. Hit Save, and the video will be exported.
You’ve now completed your first project! Feel free to explore the Learn panel for other tutorials on using HitFilm.